Custom Map Illustration
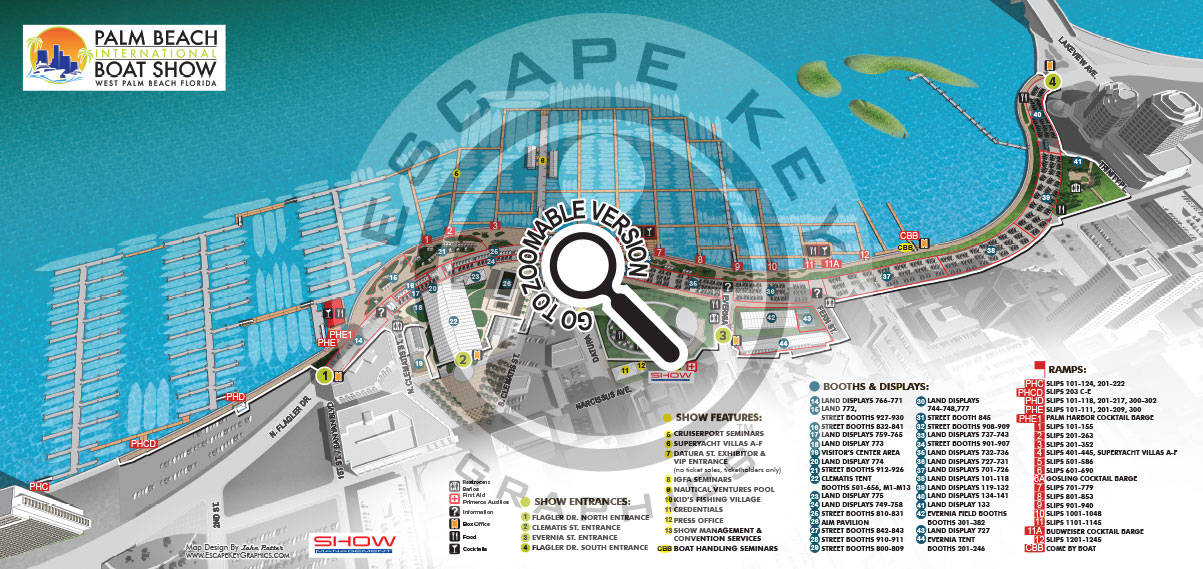
The maps for the 2016 Palm Beach International Boat Show are now complete. This year in addition to updating the main map I've created a new parking map and new look and feel for the tent detail maps.
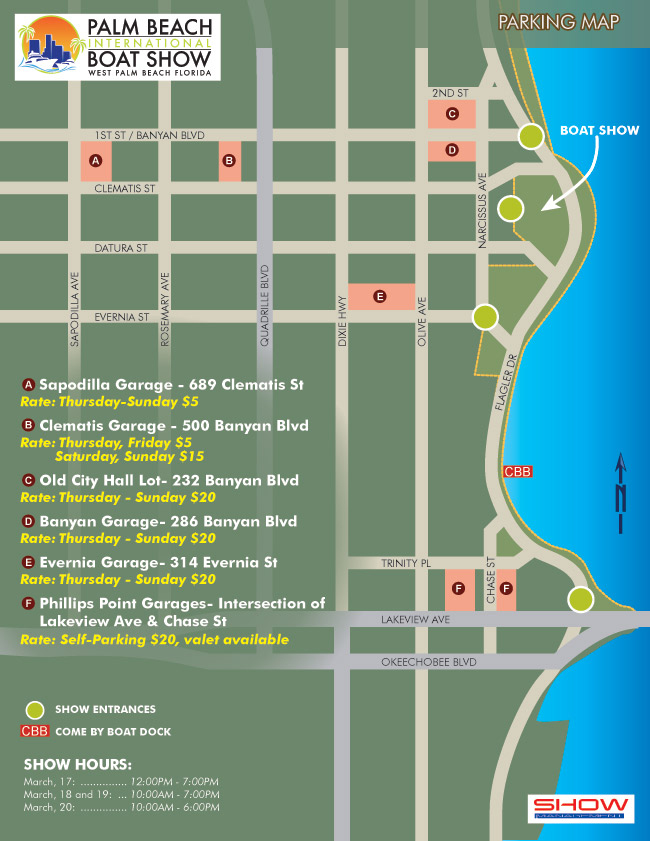
West Palm Beach Parking Map
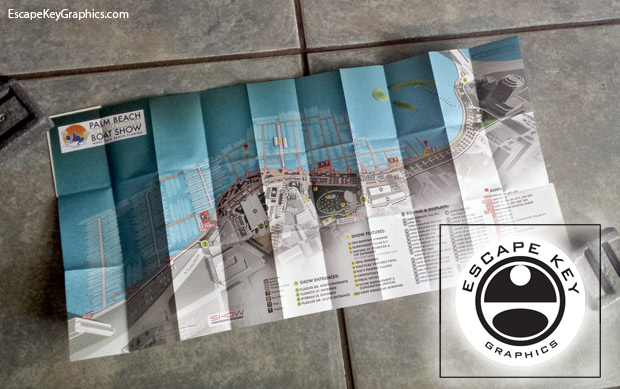
Palm Beach International Boat Show Zcard
Palm Beach International Boat Show map sign
Get more information about the boat show at ShowManagement.com
If you need an illustrated map be sure to contact me.
Escape Key Graphics has created boat show maps many ways and combinations of ways, but there are two basic types, vector and 3D. In both cases buildings, paths and everything else in your map is like an object that can be moved, shrunk, deleted, etc., making revisions easy and quick. Expansion of your show, site, or facilities seldom means recreating your map from scratch.
The vector based method has the advantage that maps can be blown up to a poster of any size with little or no degradation. The advantage of 3D modeled maps is their great versatility. 3D modeled maps can be rendered from different angles and zoom extents creating endless new possibilities. These 3D boat show maps are more realistic in look than the vector boat show maps and can provide multiple look and feel options.
Boat shows Escape Key Graphics has designed maps for include: The Fort Lauderdale International Boat Show, The Newport International Boat Show, Yachts Miami Beach (formerly The Yacht and Brokerage Show In Miami Beach), The Panama International Boat Show, Strictly Sail Miami, The Palm Beach International Boat Show, The Saint Petersburg Power and Sailboat Show and more.